Photo Sharing Tutorial
Did you ever think that you would be doing all these great things on a computer? Fabulous, isn’t it?
Photo sharing allows you to share your favorite photographs with friends, family, or even the public at large. You decide what pictures you want to share and who you want to share them with. Give Chapter 16 a visit for more information about how to get photos onto your computer.
This tutorial contains interactive examples of what you may have on your screen when you visit a Photo Sharing site. I’m using flickr.com and ofoto.com (Kodak) as my two examples. The elements and how they function are the same from site to site, even if what appears here doesn’t look exactly like what is on your computer screen when you visit a Photo Sharing site. Remember to use the scroll bar to view the entire page.
You will have to register with whichever Photo Sharing site you choose. Registration is free. Follow my guidelines in the book for choosing a password.
Loading. . . please be patient—the tutorial contains a lot of information.
Example of Photo Sharing using ofoto.com (Kodak)
Example of Photo Sharing using Flickr.com
ofoto.com (Kodak) tutorial
You must "upload" (or copy) your photos from your computer to the website.
Here’s where you click, if you’re using ofoto.com:
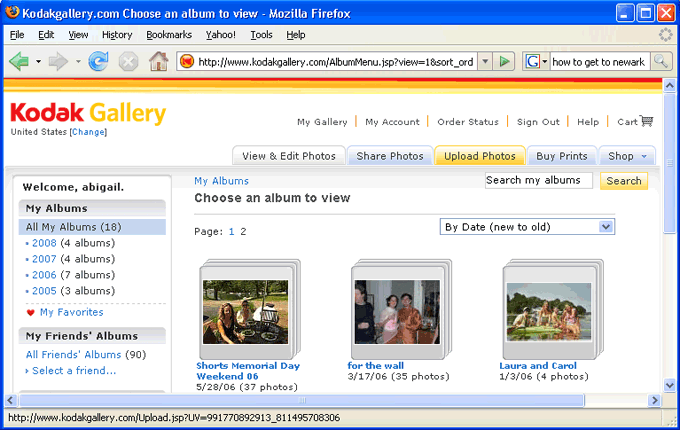
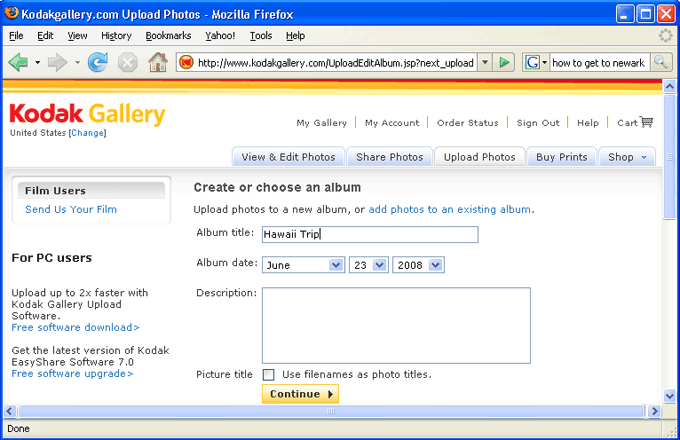
Then you’ll give your album a name and a date.
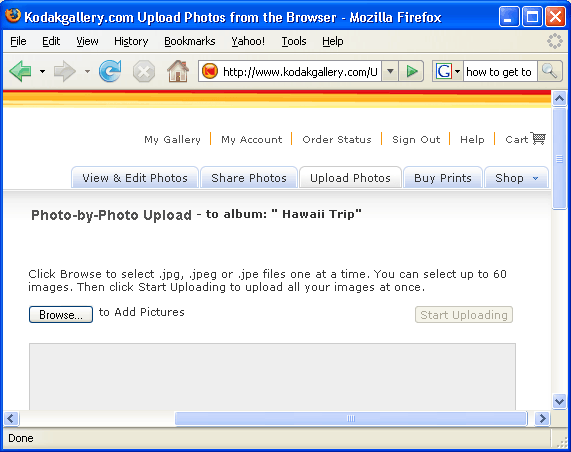
Next, click Browse to choose what pictures you want to upload to the website.
![]()
Here you can click to see your photo albums. You can also delete or rename photos or albums on this web page.
![]()
You can decide what albums or photos you want to share with friends and family. Once you decide you’ll send them an e-mail from the site that will allow them access to the selected images.
![]()
To upload a photo means to move it from one place to another. In this case, here is where you would move your photos from your computer onto this web site. You’ll also get an opportunity to name the photos and what album they will live in on the site.
![]()
You can buy prints of any of your photographs. You decide the size and the format.
Once your pictures are on the site, you can contact friends and family and invite them to come and see your pictures.
You must "upload" (or copy) your photos from your computer to the website.
Photo Sharing using Flickr
Here’s where you click, if you’re using flickr.com:
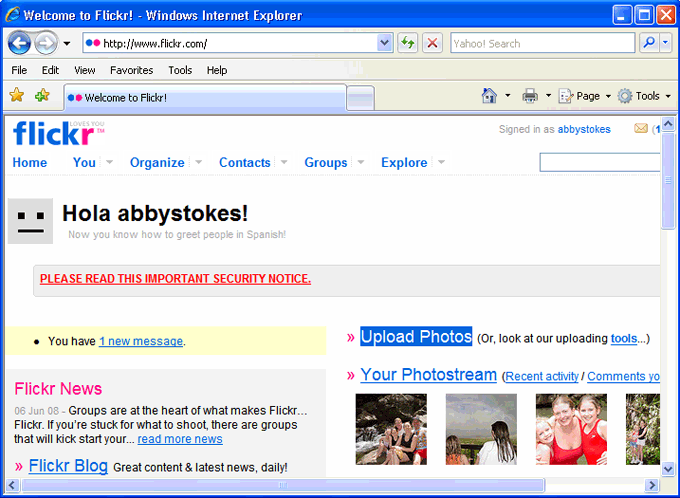
Next, click Choose Photos to find the pictures you want to upload to the website.
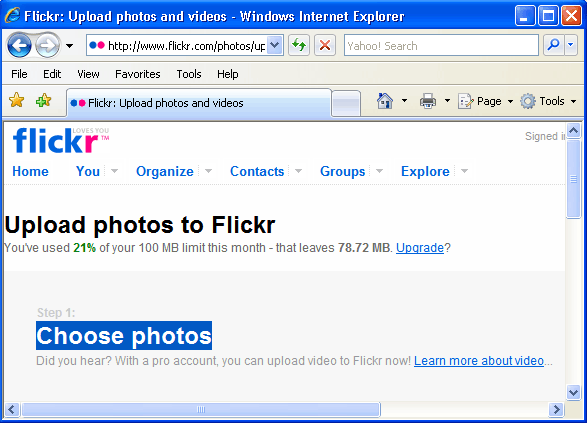
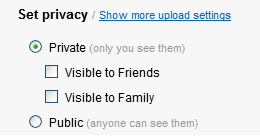
On Flickr, this is also when you decide if you want to share your photos or not. You can always change your mind later.
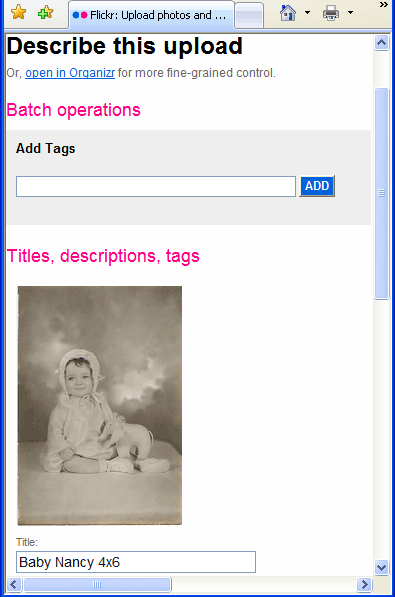
Then you’ll give your album a name.
![]()
Home brings you back your Home Page. From here you can access your photos or other Flickr features.
![]()
If you click You, you’ll be brought directly to your photos.
![]()
Here is where you can create sets of your pictures, rename or delete photos along with other features offered by Flickr.
![]()
You can search for a person who also stores their photos on Flickr. You can also invite people to view your photos from this page.
![]()
Here you can either find a group of photos on a given theme and communicate with others viewing that same group. You can also create your own group to share with people of your choosing.
![]()
Click here to see the extraordinary photos posted on Flickr. Remember to use the scroll bar.

